With a mini craftster at home who has a slew of supplies, and my own generous stash of material, at some point it became necessary to take action and impose some Order on the hoard.
So today I’m sharing with you how we did it. It might give you some ideas on how to store your own stuff — and/or help you decide you actually *do* need that handy cart from Ikea (and it’s not just because you think it’s sooo really cute)!
For starters, just choraling all the stuff in ONE spot was an amazing move: no more buying doubles because we forgot we already had (or just couldn’t find) some staples/tape/glue/whatever, no more looking for materials through the whole house, and better management of old material that needs to be thrown out. Everything is there and accessible.
Once it’s all together, throw out the supplies that you don’t expect to use. Be honest and allow yourself to get rid of those scraps of pretty papers that never seem to be just right for the project, those bits of smelly ribbon, or whatever else you keep for no good reason. It will leave some room for the *real* supplies you actually use.
On to photos!

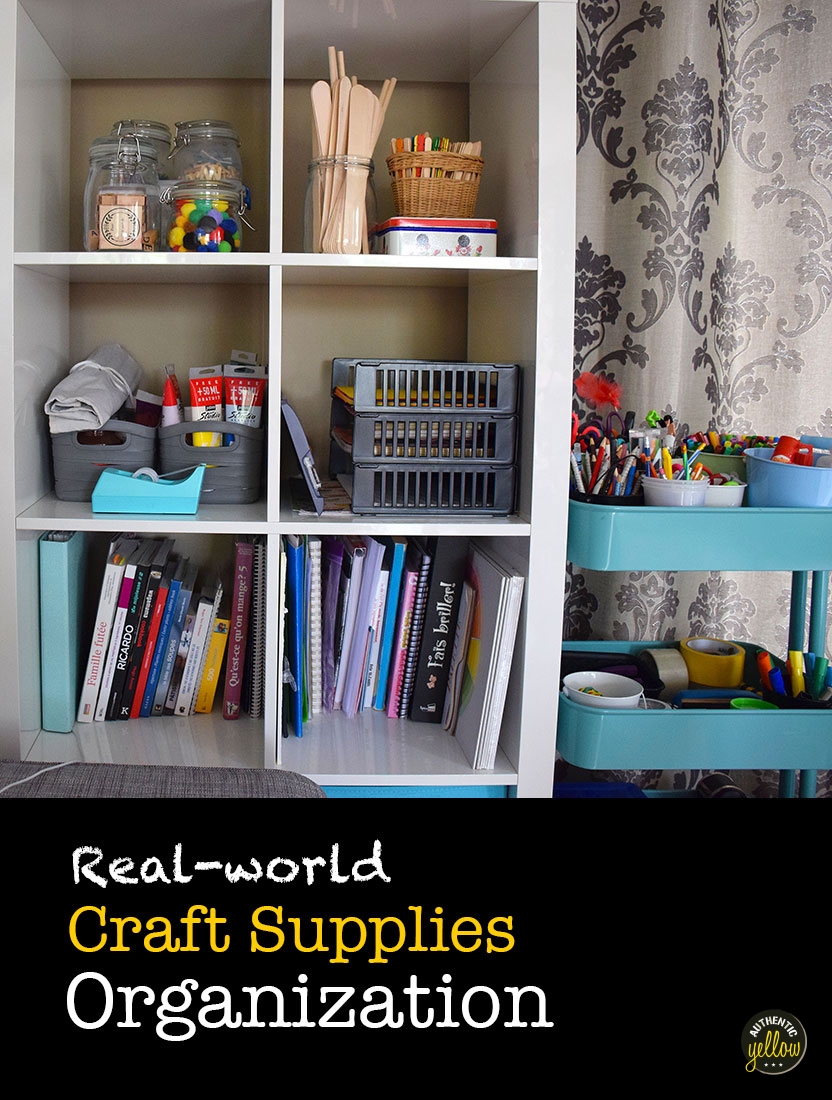
Most of our material is stored in two (almost matching) Ikea cabinets on one side of the living room. Since we don’t have a room to spare for crafts and we tend to craft directly on the coffee table or kitchen table (it’s all one open area), this makes sense for us. Actually, the living room serves mainly for everyday crafting, along with relaxing, reading, playing on the tablet and being together. (The TV is elsewhere in the house.)
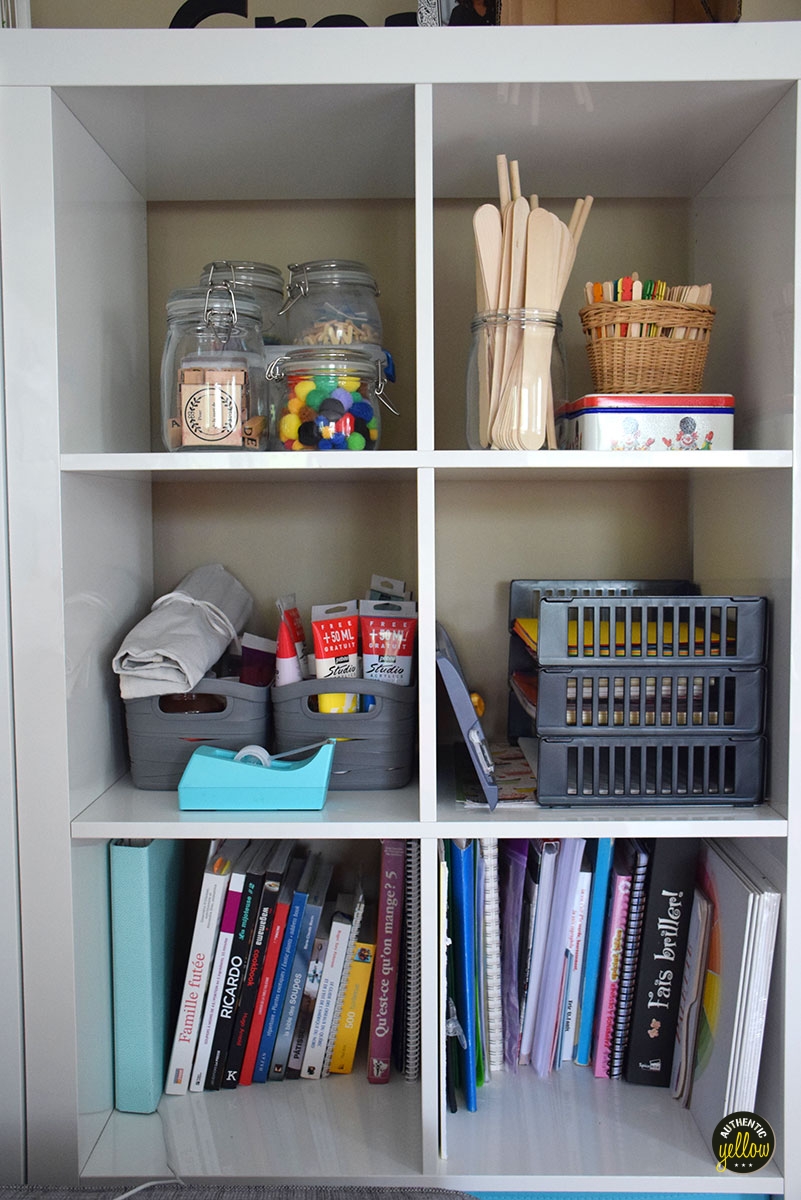
There are three bins at the bottom:
- one for miscellaneous craft supplies (foam and felt pieces, coloured feathers, plastic jewels, small wooden hearts… all in individual ziplock bags);
- one for water paints, plastic tablecloths, aprons and such;
- one for… puzzles (gotta store those somewhere).
The shelves above house sketch books, colouring books, portfolios and… cookbooks.
Meanwhile, top shelves are for materials.
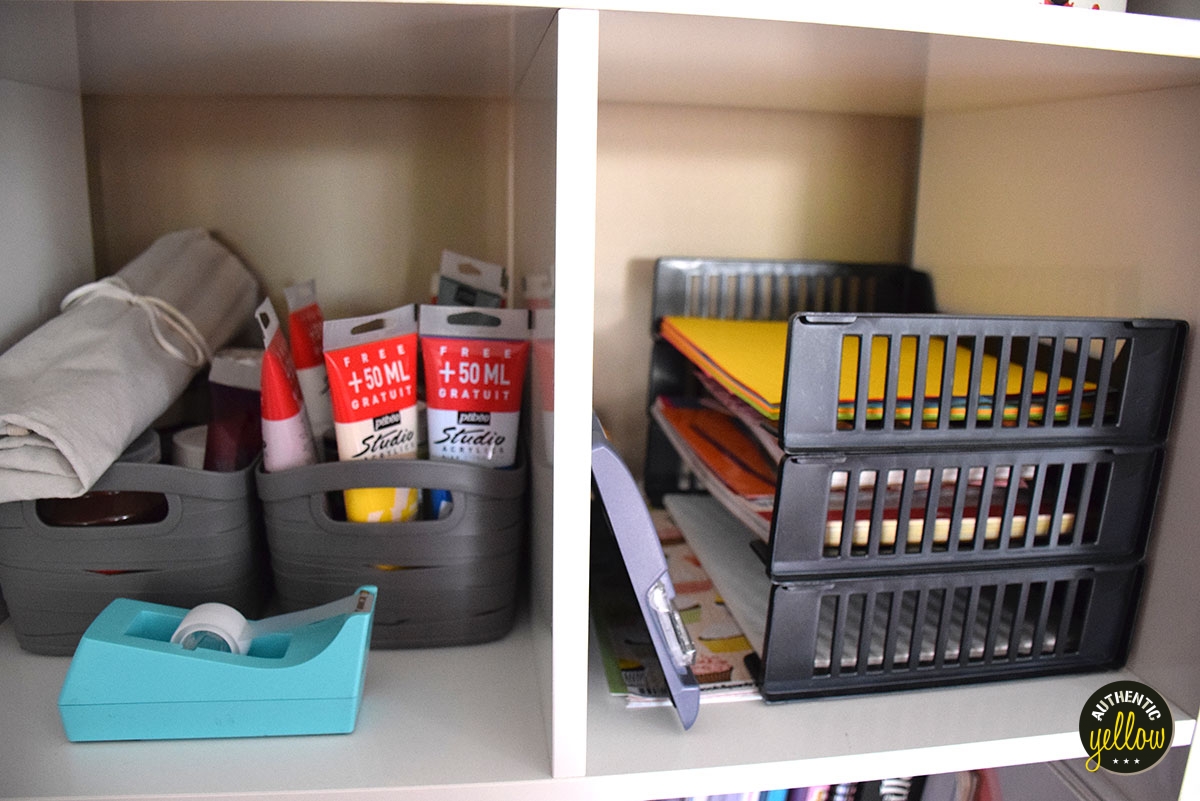
I want to paint more, but I rarely take the time to do it. The ready excuse is how long it takes to set up the materials I need, so in order to remove that excuse, paint materials have to be accessible. I placed all the acrylic tubes and bottles in two small bins, along with my paintbrushes (rolled up in the linen at left); there’s a tablet of paint sheets in the shelf below. Everything is ready to grab! So far, it’s helping. I’m still not painting a much as I’d like, but it’s improving.
Papers are stored in a three-tier tray: ruled paper, specialty and scrap book papers, coloured paper. Another shape of tray might be easier for access, but I haven’t found one yet… maybe I’ll make one some day! The paper trimmer is right there on the side.

Some of the most-used stuff (or prettiest!) is at the top: wooden stamps, colourful pompoms, pipe cleaners (we’re currently out of them) and popsicle sticks.
Now let’s talk about the cart!

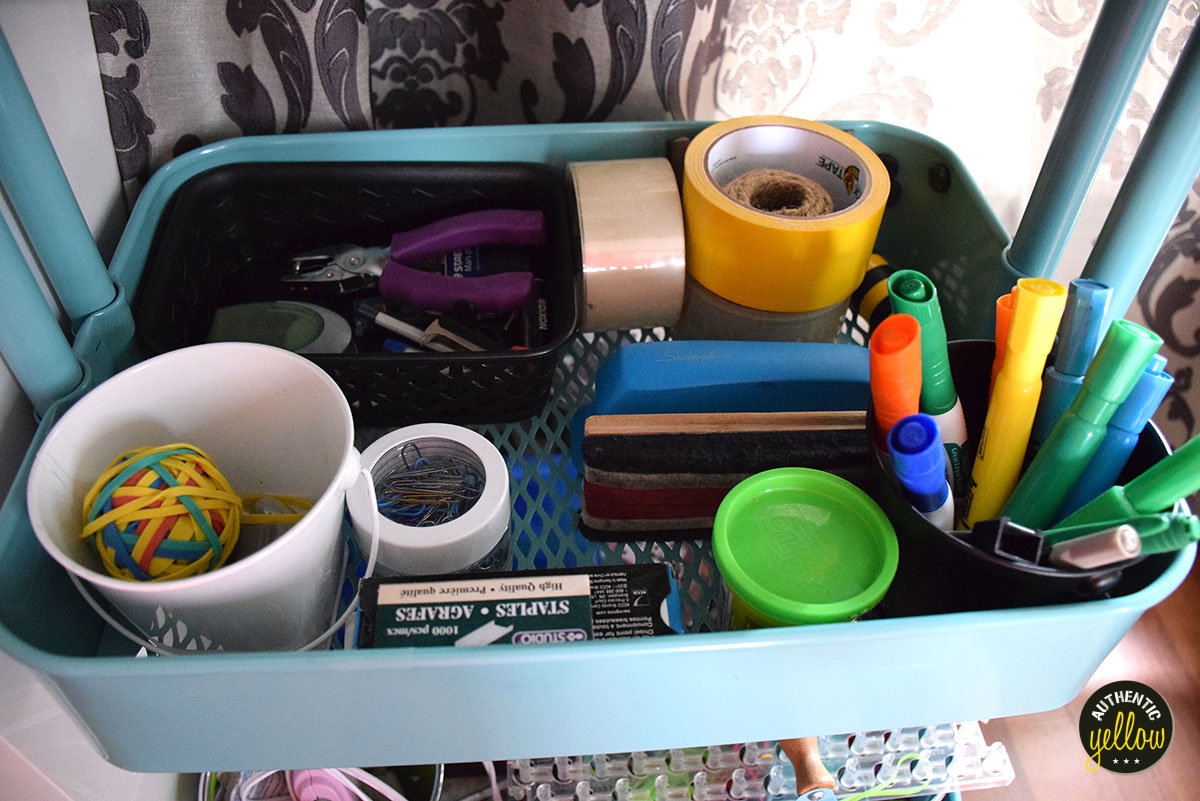
The cart is on wheels, this makes it easy to roll it up to the table where we’re working. (Also easy to move out of the way when I’m vacuuming…!) It holds mostly markers, pencils, highlighters, as well as tools such as scissors (all types), the stapler, duck tape, pencil sharpeners, rulers, the hot glue gun, etc.
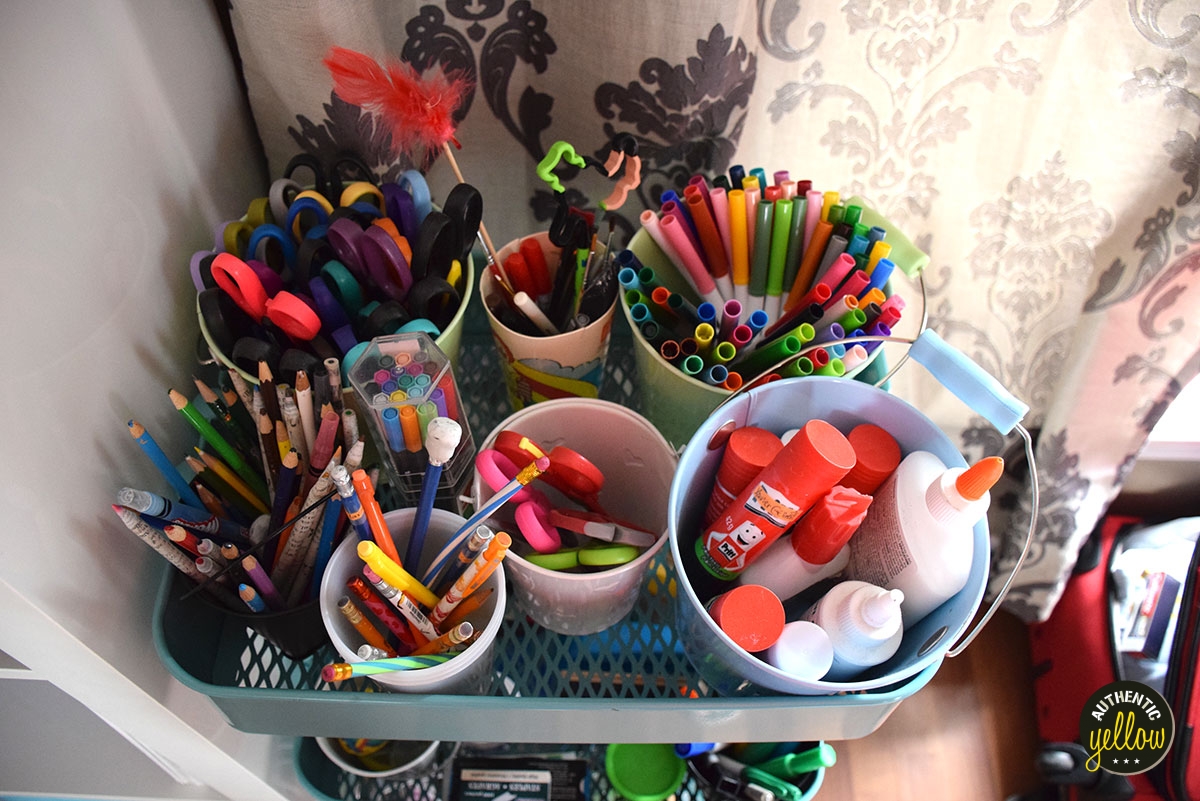
There are cups or small tin buckets for each item type: markers, scissors, glue sticks, etc. It’s easy to pick up what we need: it’s just *there*!
I’ll admit it would be nicer if that corner of the living would be a little less crowded — or if it was one long cabinet instead of two (or if, at the very least, the cabinets matched!)… BUT! it’s a very useful set up for us, and encourages us to stay creative.
I hope it inspires you too! Have a nice week!
